Blog Archives

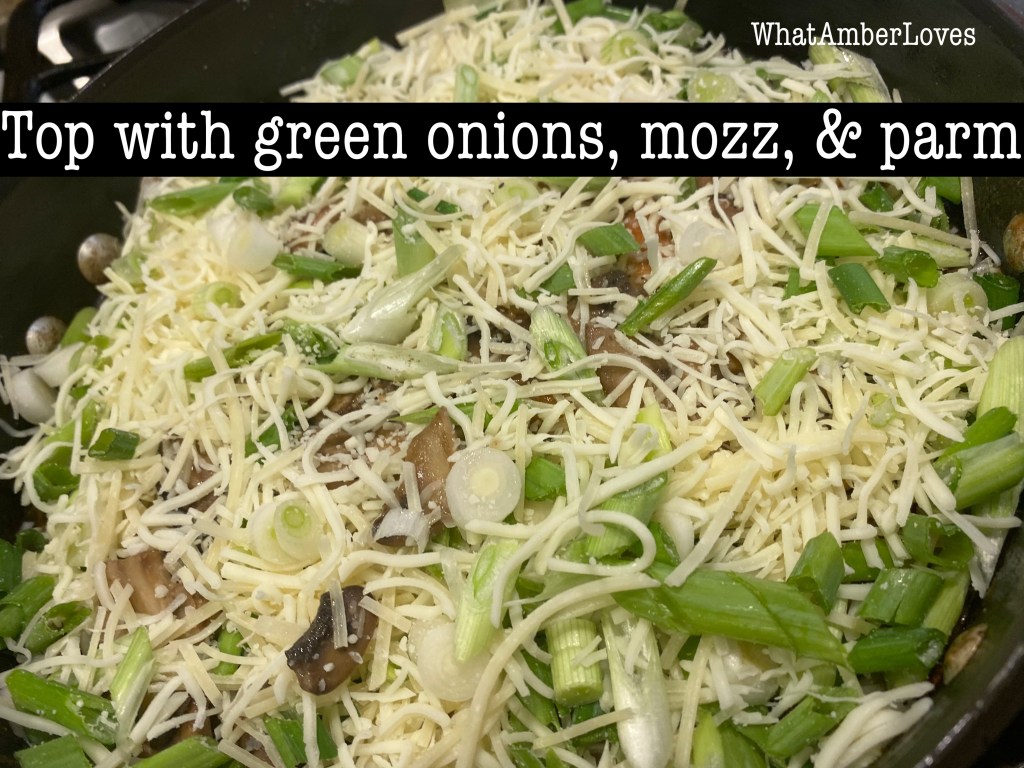
Chicken Lombardy!
This recipe. This.

Ingredients:
- 3 boneless skinless chicken breasts
- 1/3 cup butter divided
- 1 cup all purpose flour
- 8 oz sliced mushrooms
- 3/4 cup marsala wine, dry not sweet
- 1/2 cup chicken stock
- salt, pepper, garlic powder
- 1/2 cup shredded mozzarella
- 1/2 cup parmesan cheese
- 4 green onions sliced
Instructions
- Heat a large skillet over medium-high heat and add 2 tbs butter.
- Add the mushrooms and cook, stirring frequently, until they begin to brown; remove them and set aside.
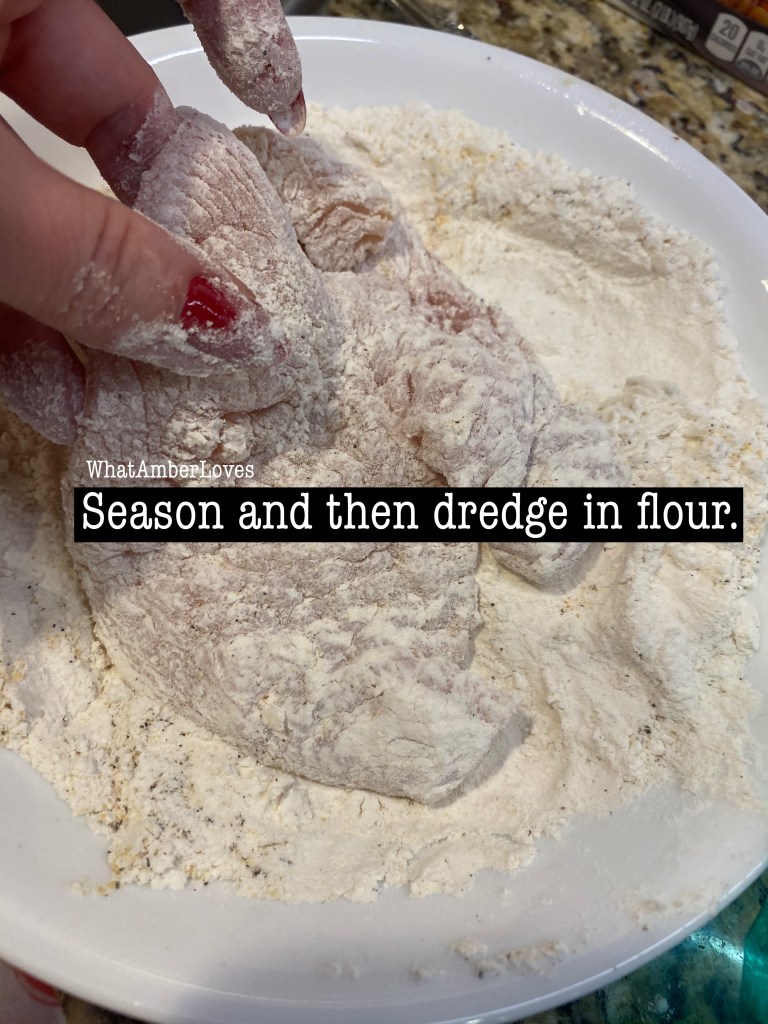
- Split the chicken breasts in half lengthwise. Flatten each piece between 2 sheets of waxed paper or plastic wrap with a meat mallet to about 1/4-inch thickness. Season with salt, pepper, and garlic powder. Dredge each flattened piece in the flour.
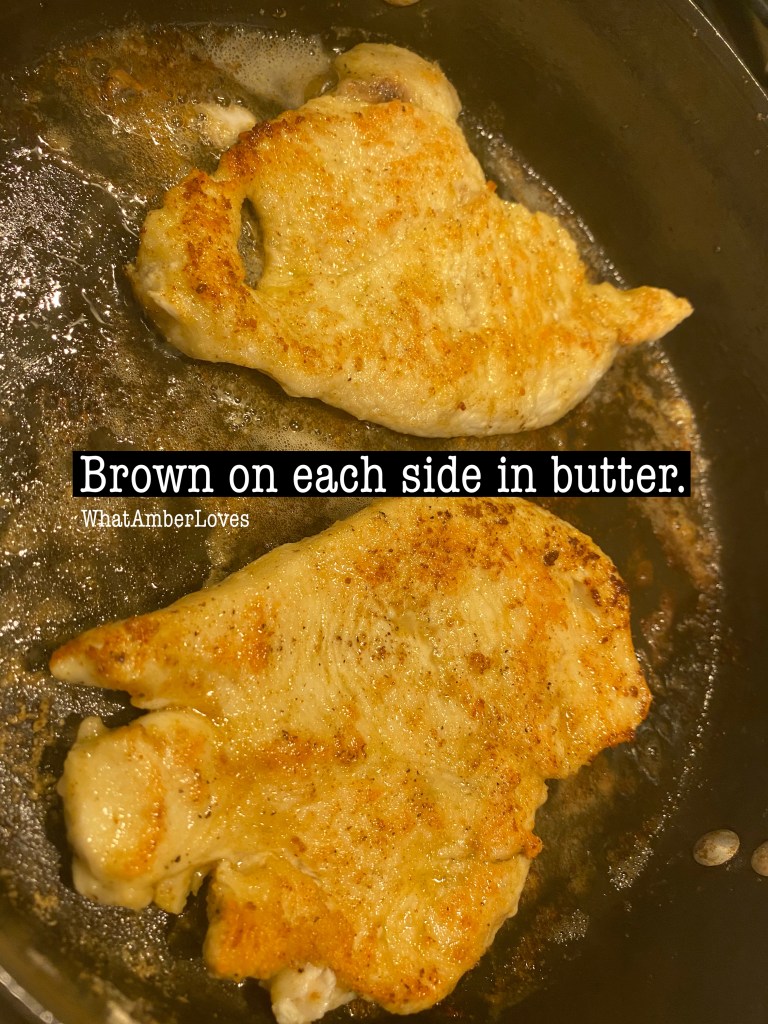
- In the same pan you cooked the mushrooms in, add 1 tbs of the butter and heat over medium-high heat.
- Add 2 chicken breast pieces and brown well on all sides. Remove and set aside.
- Repeat the browning process 2 more times (using a tbs of butter with each shift)–you have to do this in shifts so the chicken is not crowded in the pan and browns evenly. Don’t drain the drippings, you need it for the marsala sauce.
- Preheat oven to 450 degrees F.
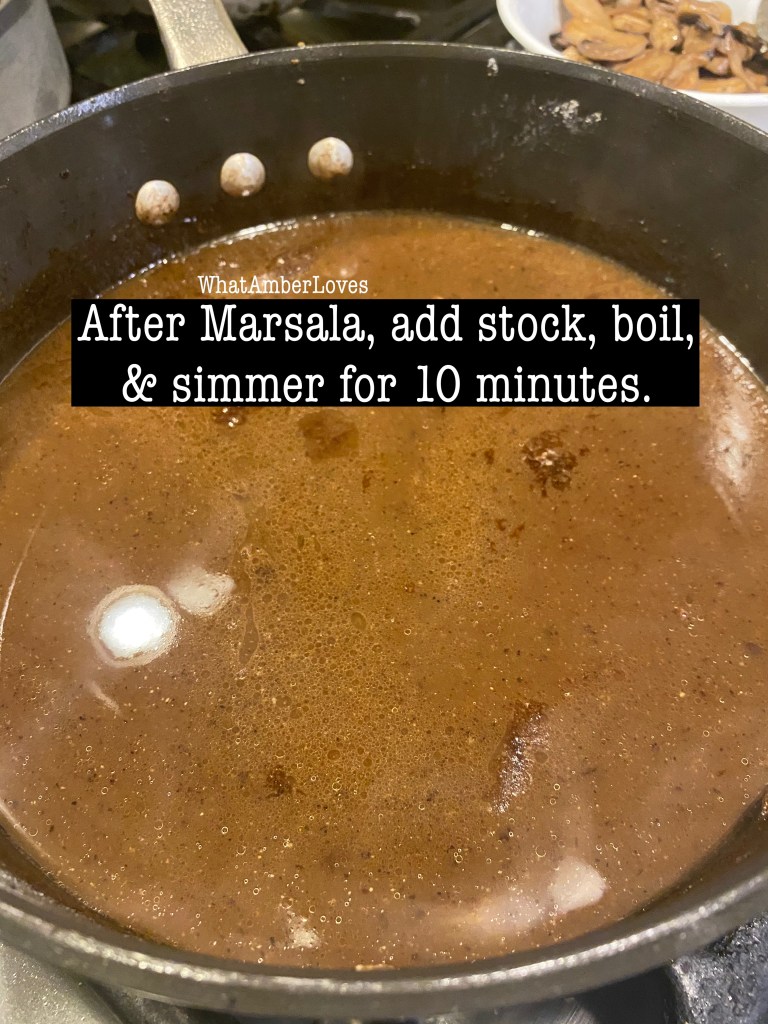
- After all the chicken is browned and set aside, using the same pan with the collected drippings, add the wine a bit at a time scraping the bottom of the pan and stirring as you add, then add the chicken stock, salt and pepper. Bring to a boil, reduce heat and simmer uncovered for 10 minutes.
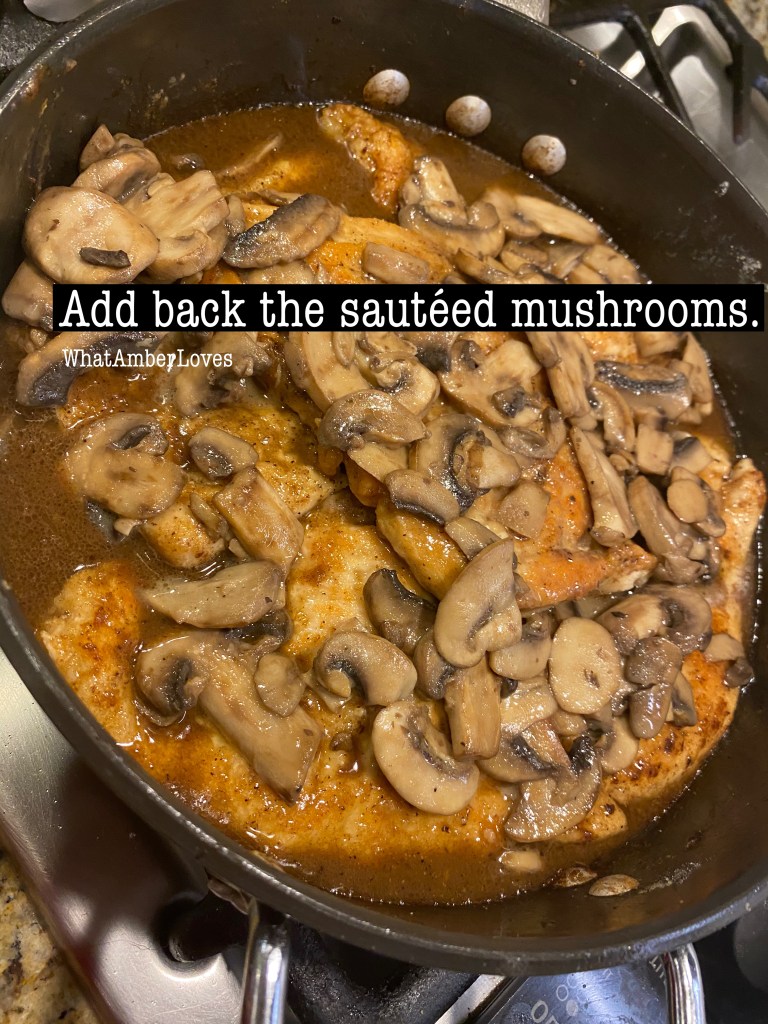
- Add the chicken breasts back to the skillet being sure each piece is coated/submerged in sauce, or alternatively put chicken into a baking dish and cover with the sauce from the skillet. Sprinkle evenly with the mushrooms.
- Mix the cheeses and green onions and distribute over the top of the chicken.
- Bake for 15-20 minutes until cheese is melted and just starting to brown.
- **(Goes well with pasta or rice, if you want to add bulk; freezes well.)


Love it as much as I do? (I LOVE it. A LOT.)
Do you have a same/similar variation of this recipe and process, too? If so, tell me? 😃
—Amber HH


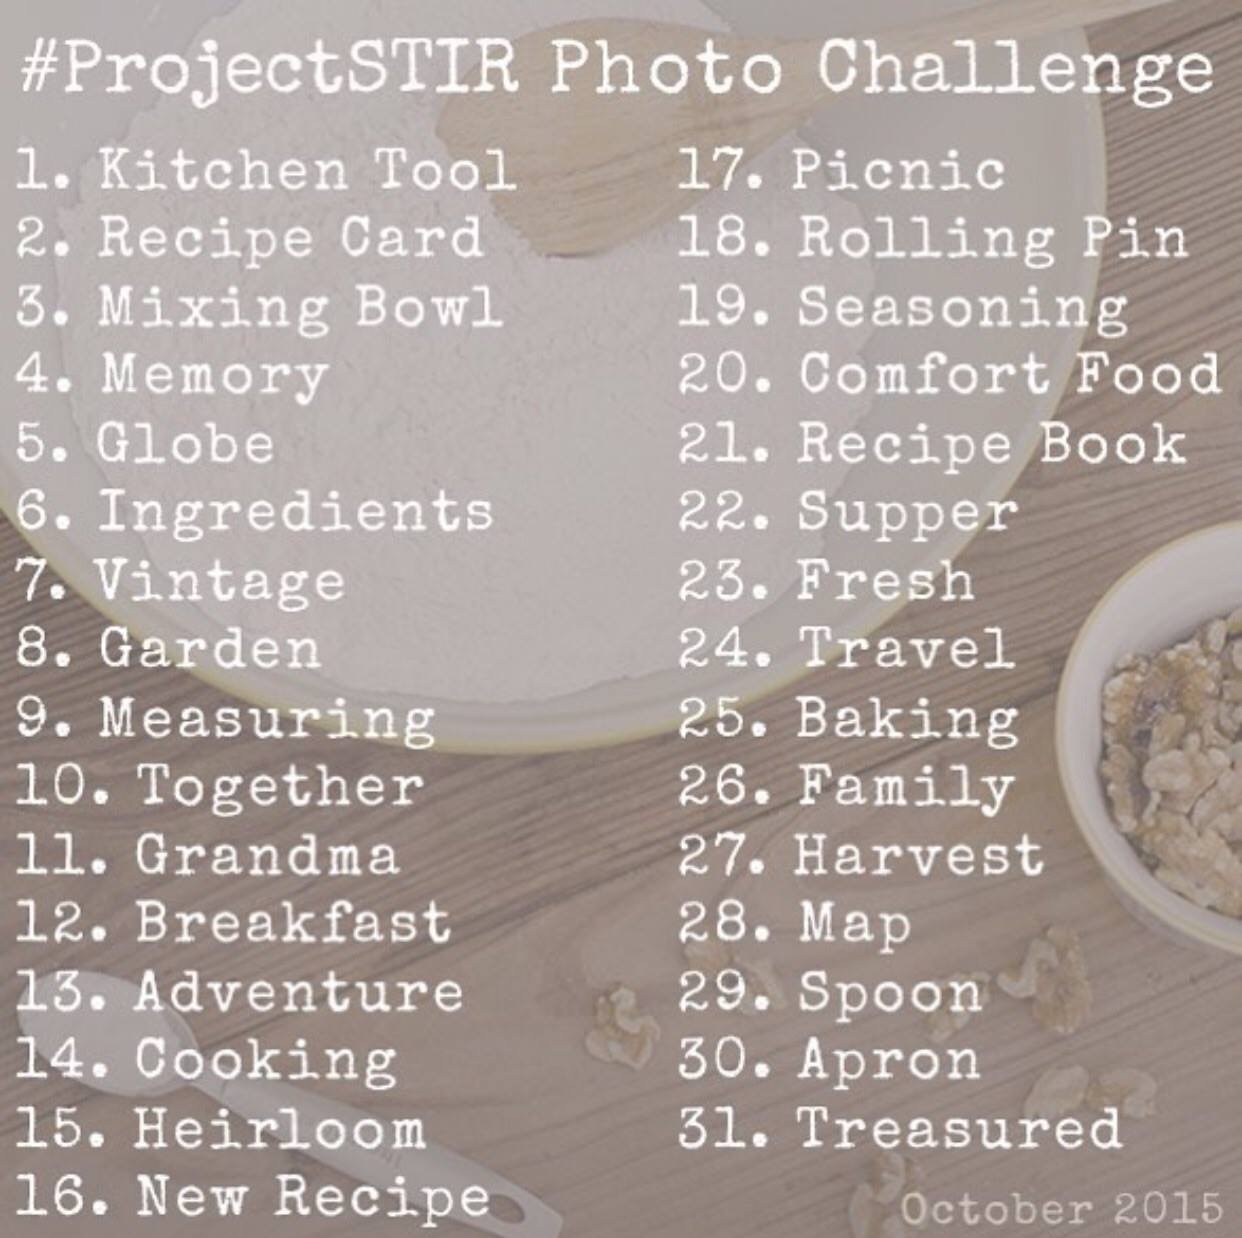
ProjectSTIR
#PhotoChallenge #October #2015
#ProjectSTIR
Use your social media to share your family’s cooking traditions!
Details about the project, prizes, and so forth can be found by clicking here –> http://www.sarahshotts.com/projectstir/
In addition to posting my photos on my personal fb page, IG account and Pinterest, I’ll update this blog daily to add new photos to THIS post!
Day 1: kitchen tool
(Yes! I have a kitchen utensil or two! Here is one of many drawers that house my kitchen utensils.)

Day 2: recipe card
(Yes! I have LOTS of cards. My favorites: those that family members have filled out for me and my extensive collection of cards that I used to pick up for free in the @WalMart produce section years ago. I have like 100 of them in this square basket. It’s not hard to tell that I’m born and raised in Arkansas!)

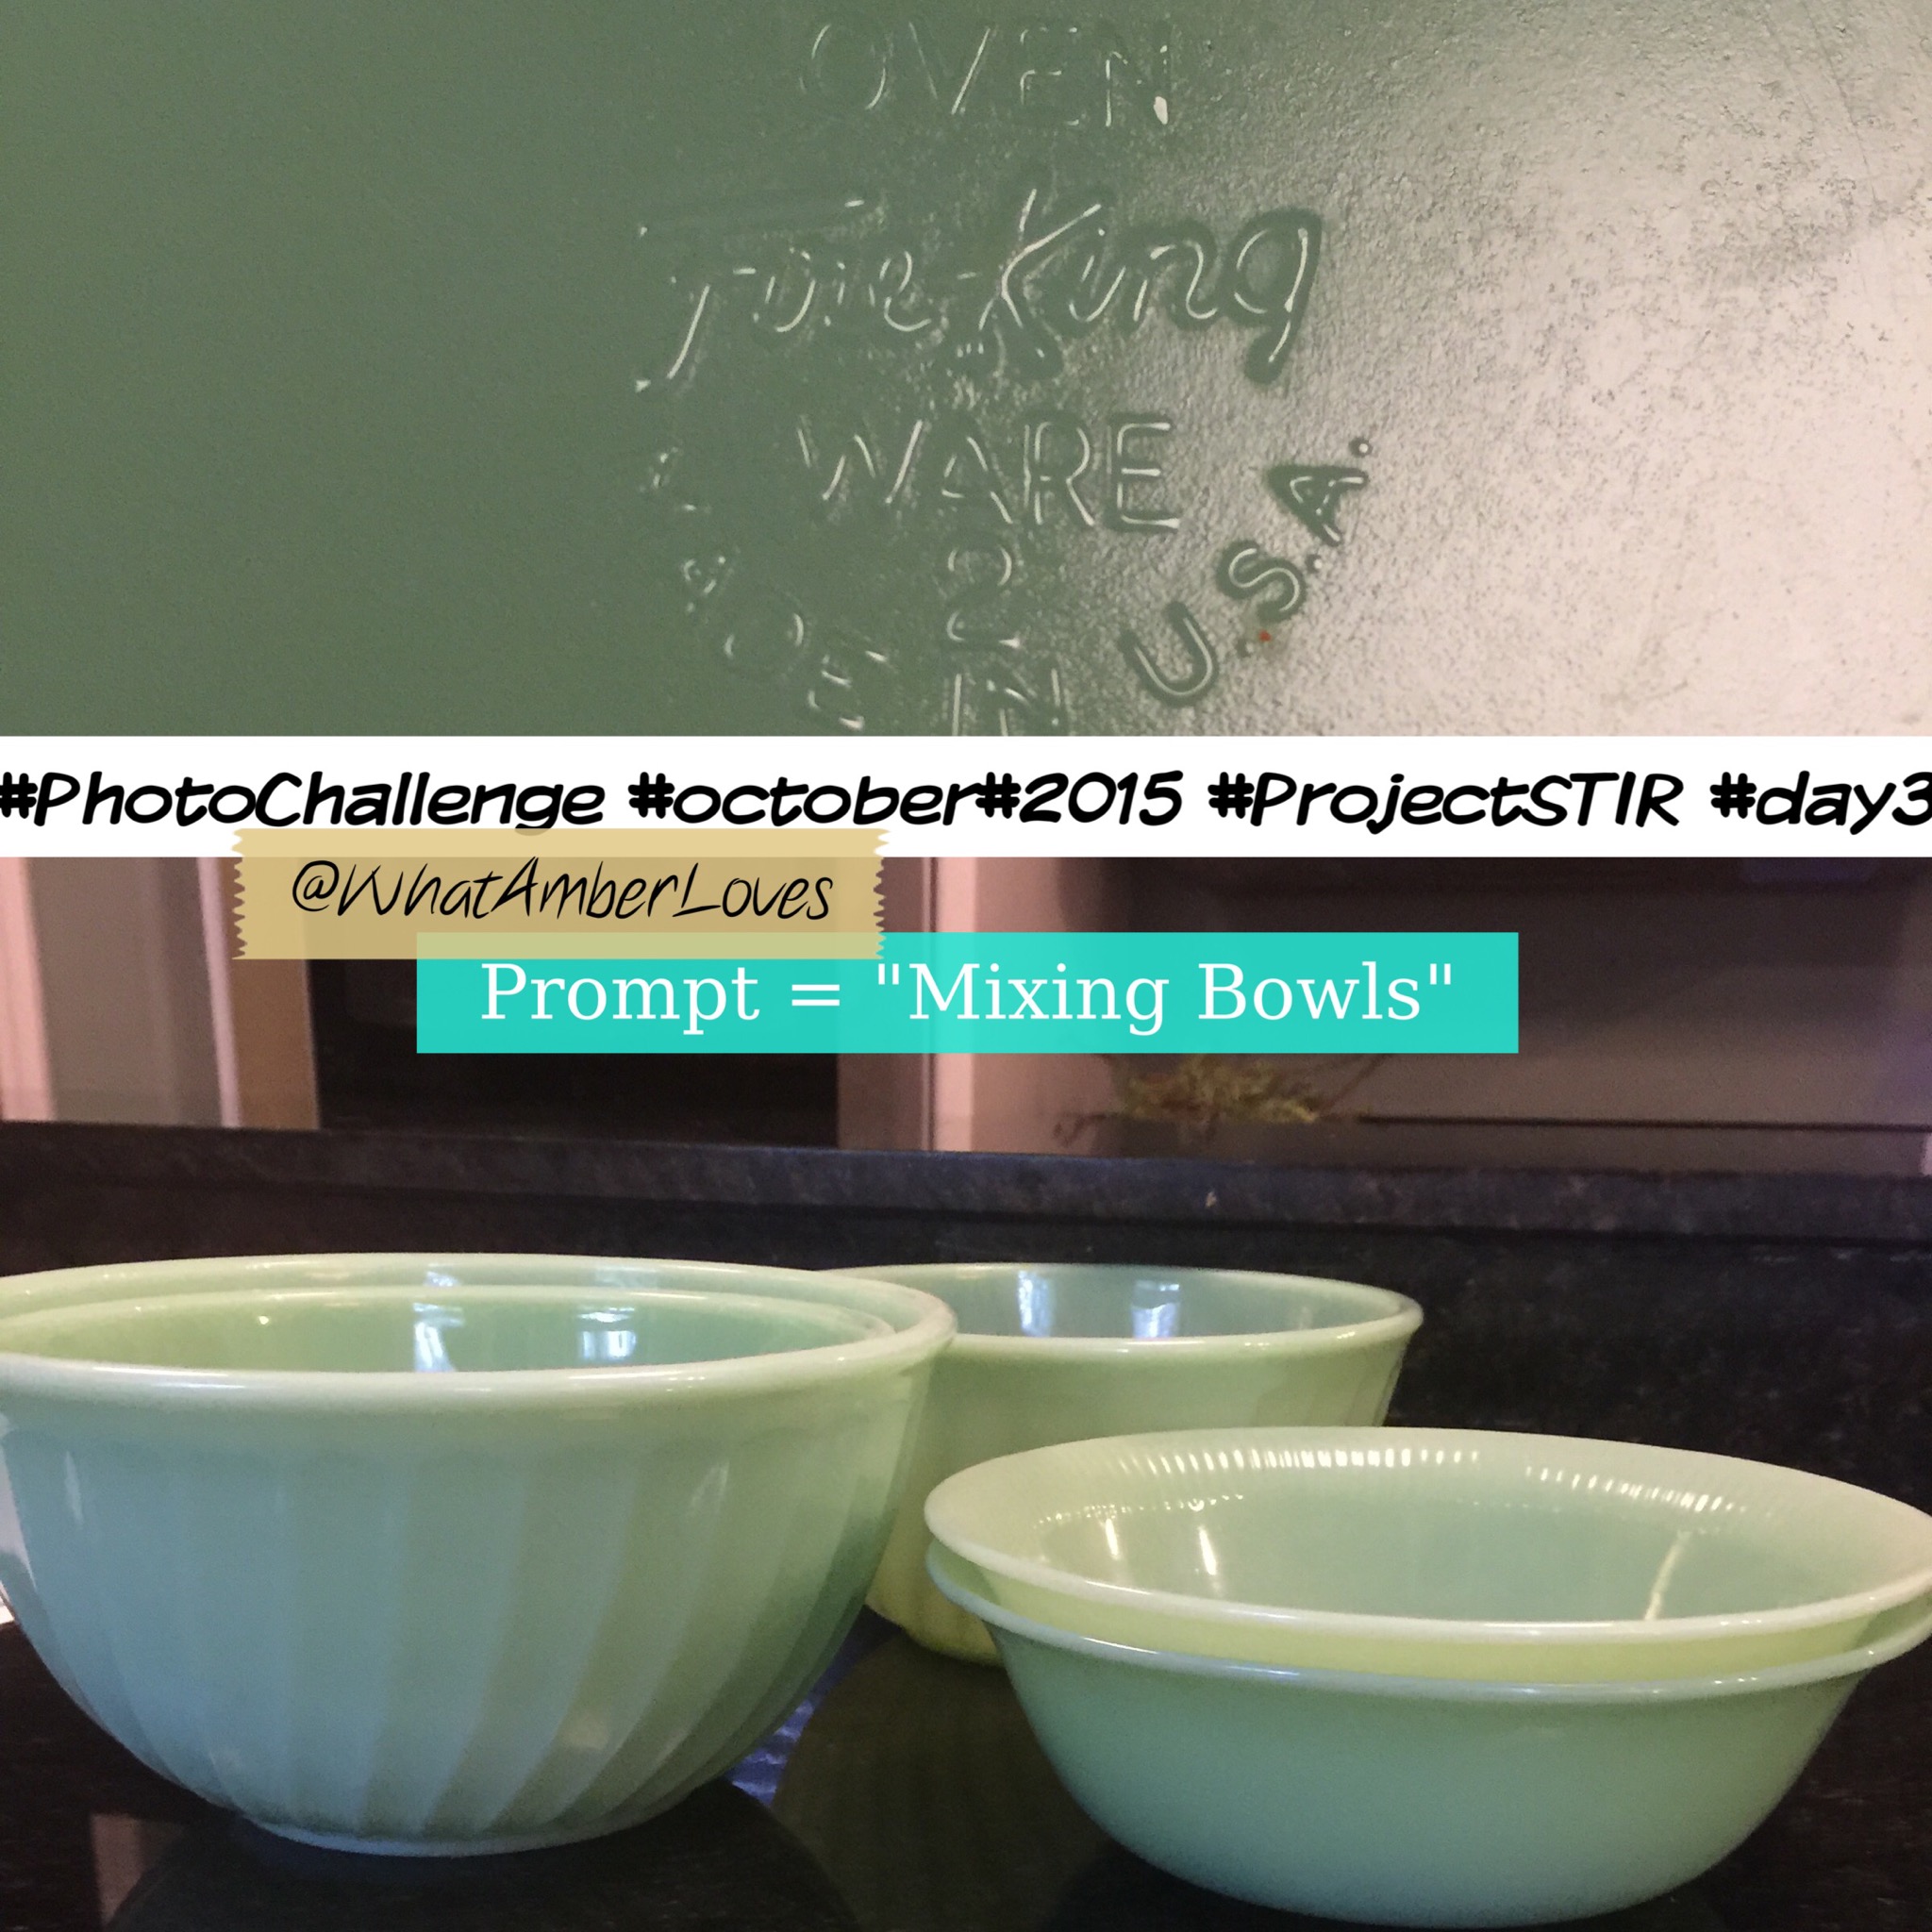
Day 3: Mixing Bowl.
FireKing Jadeite. I don’t have a complete collection. My first one was passed to me from my great grandmother via my Gram. I’ve purchased several at antique stores to accompany it. I use them all the time. They’re the best for cheese dip. They’re fabulous to serve salad. They’re my “go to” mixing bowls.
Day 4: Memory
I remember my great grandparents (my dad’s mother’s parents.) I have vivid memories of sitting at their kitchen table drinking a malt, picking up pecans in their backyard, and so many more. They were amazing. These are photos of them as I remember them, one of her recipe books that my grandmother has trusted me to care for and pass to future generations, and a glass juicer from their kitchen. You can read quite a bit about the amazing life of my great-grandfather, Bill Seiz, at: http://www.encyclopediaofarkansas.net/encyclopedia/entry-detail.aspx?search=1&entryID=2719

Day5: Globe
💞🌍🌏🌎🇦🇺🇧🇪🇺🇸🇹🇷🌎🌏🌍💞
I have 100 or so #cookbooks. Here are a handful of favorites representing various cuisine. Chinese, Spanish, Italian, American (specifically, Southern,) English. 😊

Day 6: Ingredients
🌿🍐
I like using seasonal ingredients and prefer to include at least one ingredient a day from my garden.
Today, I made scones using Rosemary, Pear, Asiago cheese, and Eggnog! They turned out great! The Rosemary is from my 15 foot long, evergreen Rosemary Hedge! Love it!
Get my recipe for these scones, here: https://whatamberloves.com/2015/10/07/scones/
Read more about my love and uses for Rosemary on another post:

Family Updates!
Hey, y’all! What’s up? 🙂 🙂
Wow, I could write a bajillion updates (or at least 8 posts) at this point with all of the photos I’ve taken in the last month or two!
I will show you a few highlights, though; it’ll be a condensed overview of what could be 8 individual updates.
(I may double back at a later date to show you actual step by step tutorials on each of the 8 the projects and step by step recipe details, in individual posts.)
1) We made a fun, colorful “puff quilt,” by following this tutorial link: http://handmade-europe.com/2011/11/22/tutorials-quilts Remind me to tell you the backstory of these fabrics sometime!


2) Garden:
a)My garden, especially the pepper garden, has been flourishing!
b) I submitted one of photos of my peppers to P. Allen Smith’s #ArkansasGrown photo contest and was selected as one of the weekly winners. I received a great prize package in the mail shortly thereafter!
c) I sure enjoy late season rose blooms and playing around with photo editing apps!


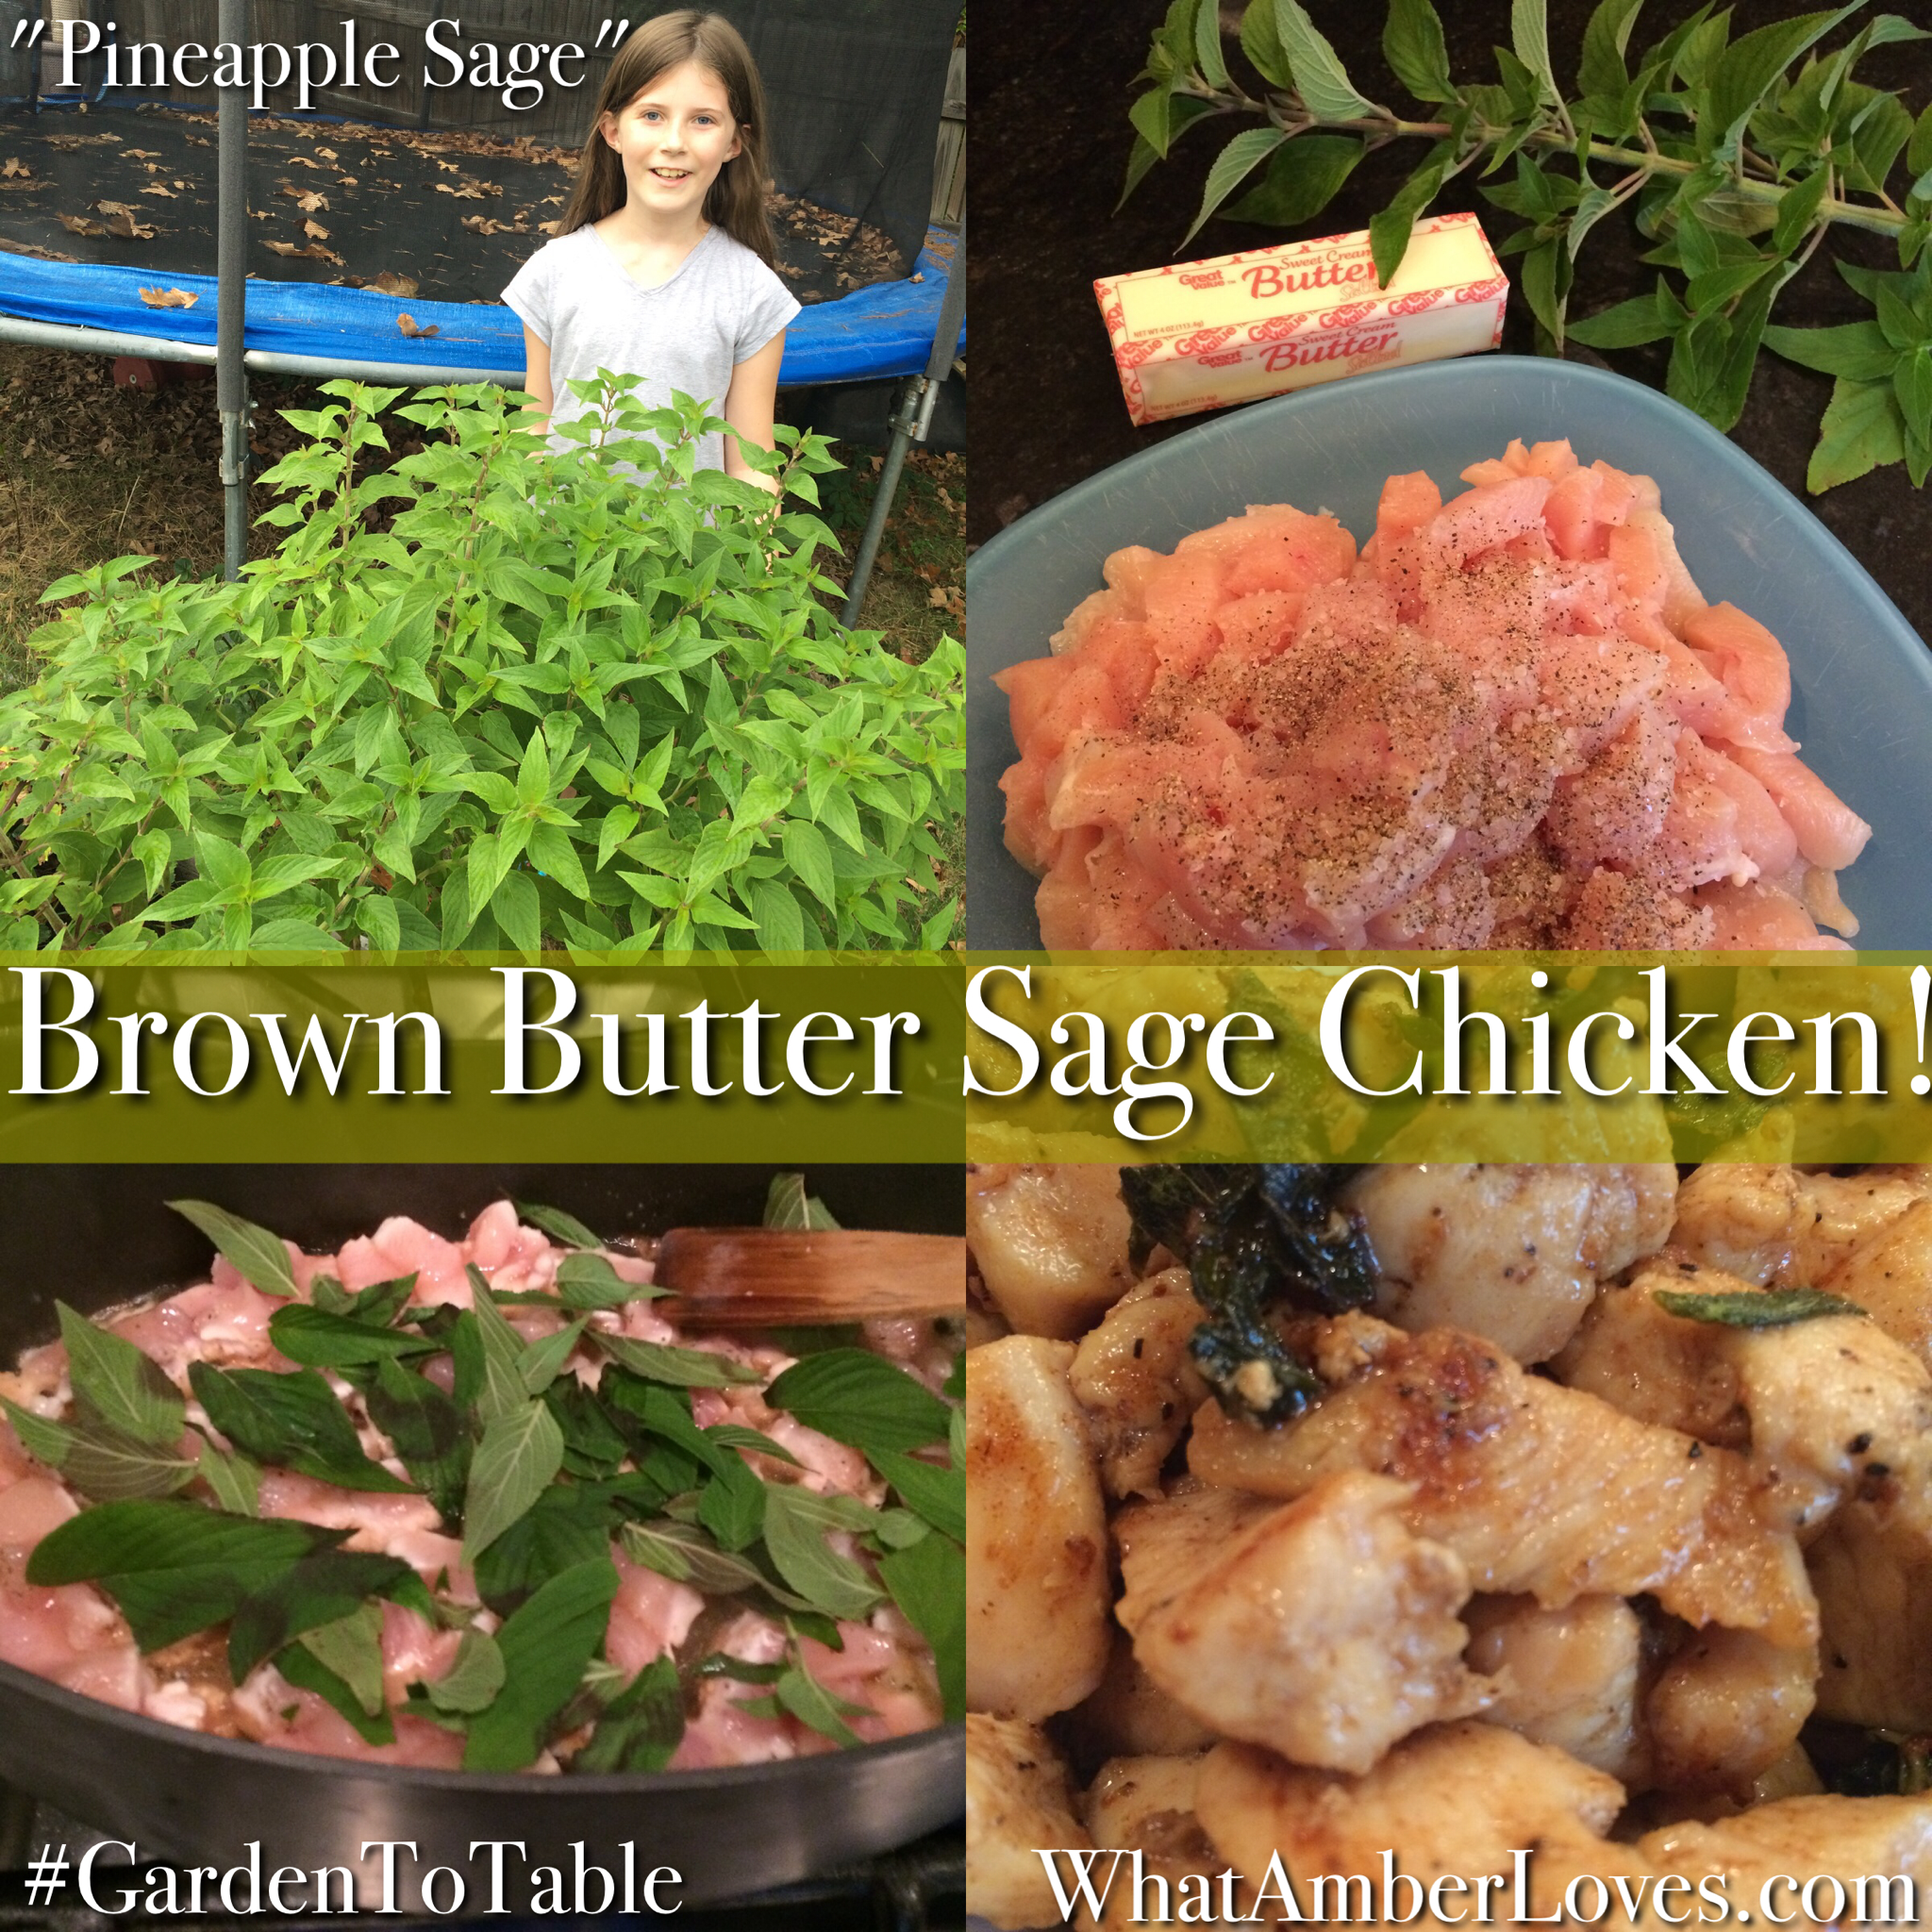
3) One of my favorite herbs this year is Pineapple Sage! I bought it as a little starter Bonnie plant, and it has grown to 3′-4′. I’ve especially liked using it in “Brown Butter Sage Chicken!” I cook it until the Sage gets crispy! Yummm! I follow this recipe link: http://www.kevinandamanda.com/recipes/dinner/5-minute-brown-butter-chicken-and-crispy-sage.html
4) In house decor news, I’ve purchased a new pair of long sofas for the living room and a new coffee table. I posted our old sectional sofa on Craigslist and Facebook to sell, and it sold the first day. However, it’ll be 6-8 weeks until the new LaZBoy sofas arrive! Oops! Haha! The coffee table has arrived, though:

5) We also decided to paint the ceilings in the foyer, living room, and office a dark green! It doesn’t darken the room, but it does make the 10′ ceilings seem even higher! The Living Room has windows that are almost floor to ceiling spanning one wall, lights in the ceiling fan, and a pair of wall sconces, so it is sufficiently bright! Here it is:


6) Our 3 girls are all flourishing! We received their benchmark standardized test scores from Spring testing; Caroline and Abigail have “Wow’d” me again! They both scored hundreds of points above state averages in Literacy. They also BOTH scored in the upper 90-99th percentile in every subject, nationally. Amazing, just amazing little girls they are! Caroline, 7th grade, has been invited to participate in Duke University’s talent identification program (TIP!) YaY!! Veronica, 3, stays busy playing with building blocks, puzzles, and her Nabi tablet, patiently waiting to be old enough to take standardized tests, too! Love:

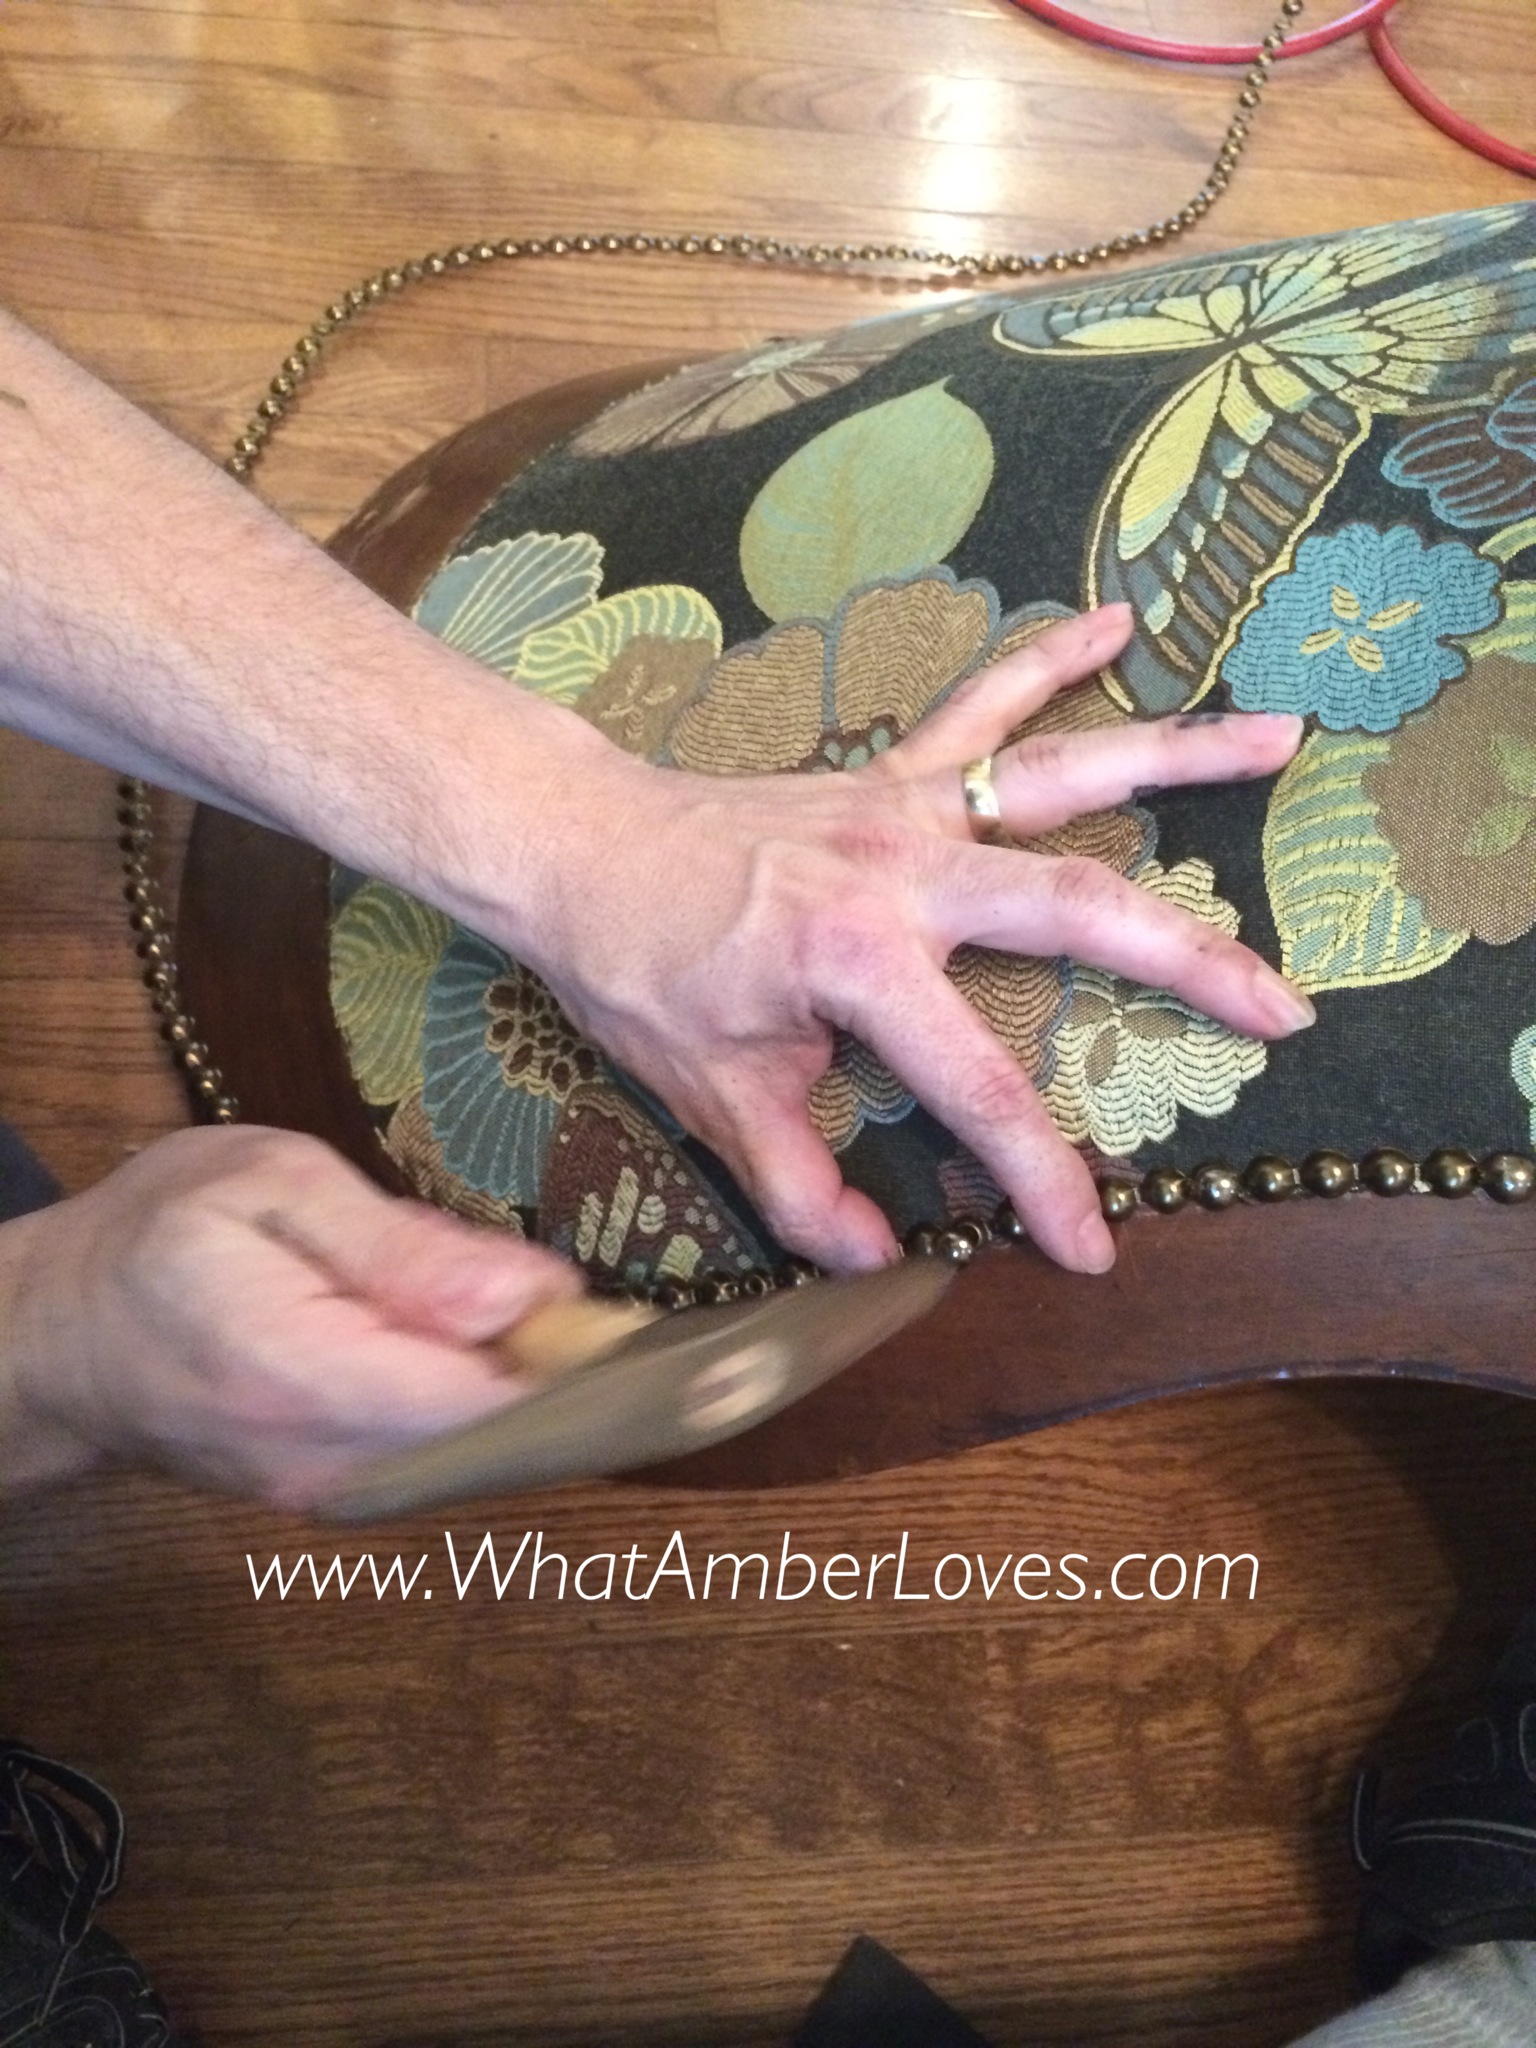
7) What else? Oh, yeah! We reupholstered another chair! I asked Baby Veronica to me find something green in Hancock Fabric Store, and she picked this green butterfly upholstery fabric, so we went with green butterfly fabric for the chair that sits in the foyer. It’s kind of an entry way into the library. We also covered the desk shroud! See:


8) This morning, Mitch got up early to make Cinnamon Sticky Buns from scratch for us girls! Lucky, lucky girls we are!! I sure love him! He used the recipe from this link: http://m.allrecipes.com/recipe/21461/ooey-gooey-cinnamon-buns

So, that’s what’s been going on around here!
I hope autumn is going well for you and yours, too!
Your Friend,
~Amber Hamilton Henson
Hungarian Mushroom Soup
Hungarian Mushroom Soup
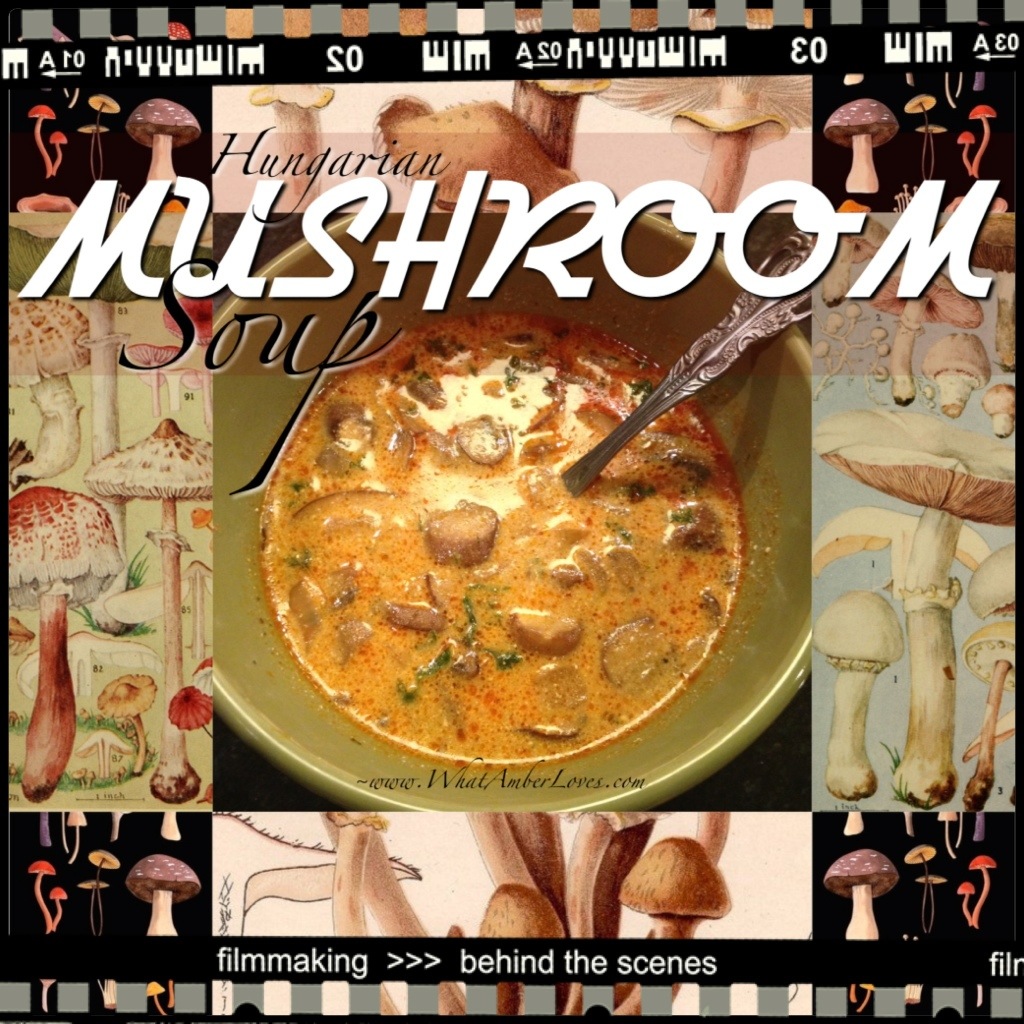
I LOVE It!! Really, really loved it!! It is by far, my favorite new soup discovery!!
Adapted from AllRecipes
4 tablespoons unsalted butter
2 cups chopped onions
1 pound fresh mushrooms, sliced
2 teaspoons dried dill weed
1 tablespoon paprika
1 tablespoon soy sauce
2 cups chicken broth
1 cup milk
3 tablespoons all-purpose flour
1 teaspoon salt
ground black pepper to taste
2 teaspoons lemon juice
1/4 cup chopped fresh parsley
1/2 cup sour cream
DIRECTIONS: (makes 6 servings)
1) Melt the butter in a large pot over medium heat. Saute the onions in the butter for 5 minutes. Add the mushrooms and saute for 5 more minutes. Stir in the dill, paprika, soy sauce and broth. Reduce heat to low, cover, and simmer for 15 minutes.
2) In a separate small bowl, whisk the milk and flour together. Pour this into the soup and stir well to blend. Cover and simmer for 15 more minutes, stirring occasionally.
3) Finally, stir in the salt, ground black pepper, lemon juice, parsley and sour cream. Mix together and allow to heat through over low heat, about 3 to 5 minutes. Do not boil. Serve immediately.
Last night, I’d originally planned to make Sriracha Fig Jam Chicken Wings, but then I remembered that my daughter was cheering at her middle school home basketball game, so I wouldn’t be home to cook. (Stay tuned for the Wings, they’re happening soon, though.) Hubby to the rescue! He offered to cook!! I thought a soup might be a good idea, since its hard to predict exactly when daughter and I would be home… He made mushroom soup for me, and it was AMAZING! Not only was the soup amazingly yummy, it was pretty cool that he found the recipe and made it just for me and daughter, because we LOVE mushrooms. He doesn’t eat them! As a matter of fact, he avoids them at all costs, the same way I avoid all seafood and fish!! Yet, he made mushroom soup for me!! Is there anything hotter than a hot guy in the kitchen? No, there’s not! 🙂 Lucky girls we are!! We loved the “Hungarian Mushroom Soup!!” Thanks, Mitch! We give you 5 of 5 stars!!
~Amber

PS
Want to see what else is cooked in this house? Check my recipes page or find me on Pinterest.
This recipe will link to other blogs and will be updated with those links at the bottom of the post:
PINEAPPLE CAKE

PINEAPPLE CAKE
. . . with cream cheese icing!
Ingredients
CAKE:
2 c all purpose flour
2 c sugar
2 eggs
1 tsp baking soda
1 tsp vanilla
pinch salt
1 – 20 oz can of crushed pineapple in heavy syrup ( undrained )
CREAM CHEESE ICING:
1 stick butter
1 – 8 oz cream cheese, softened
1 tsp vanilla
1 1/2 c confectioners’ sugar
1 .
Preheat oven to 350 degree F.
Mix cake ingredients in a bowl with a fork. Pour into a greased 9X13 inch glass pan and bake at 350 for 35 minutes (until top is golden brown).
2.
Icing: Beat butter, cream cheese and vanilla together until creamy. Gradually mix in powdered sugar.
3.
Frost cake with cream cheese icing while still warm. Sprinkle with chopped nuts if desired. (Shown with pecan pieces! Yum!)
4.
Enjoy!

Your Friend,
~Amber Hamilton Henson
PS
This post will link with other blogs:

Chicken ‘n’ Dumplings for Dinner with Family

So, there are options. There is always a trade off. You can make Chicken ‘n’ Dumplings the fast easy way or love making them from scratch.
What’s the fast easy way? Run into the grocery store and grab a Rotisserie Chicken, Box/Can of Chicken Broth, and a can of Buttermilk Biscuit dough. Bring the broth to a boil, drop in biscuits that you tear into four pieces per biscuit. Add chicken that you tear from the Rotisserie chicken. It’s actually a fairly decent solution for a semi-homemade meal. I’ve made it that way a time or two when I was pressed for time and didn’t want to wait at a restaurant or be forced into serving my kids fast food chains. It happens. You didn’t know you could make it that way? Well, now you do. You’re welcome.
However, if you want a true made-from-scratch, better-than-you-could-ever-hope-to-find-in-a-restaurant style of Chicken ‘n’ Dumplings, then you’ll need to invest a little bit of time. It is worth it. It makes a large pot, so there are leftovers, and it costs far less than the “quicky” way, assuming you keep a few staples on hand in the pantry.

Here’s how I make my Chicken ‘n’ Dumplings from scratch:

*Start a whole chicken boiling in a large pot over medium heat, and boil it until the meat is literally falling off the bone. (3-4 hours)
*Pull the chicken and bones from the pot and place in a colander by using a screen/lg slotted spoon/etc, ensuring that you save the broth in the pot.
*Cut up 3-4 medium new potatoes into 1/2″-1″ cubes and drop into the broth with a generous amount of salt and ground black pepper to simmer for an hour while your chicken is cooling.
*Mix 2 cups of flour and 1/2 tsp baking powder and crumble in 3-4 Tbsp of salted butter. (I use my hands to work the butter into the flour mix.) Add one cup of milk. Mix until a dough forms.
*Spread flour on your counter (lots) and roll your dough until it is about 1/4″ thick. Be generous with the flour on the counter and on top, because this flour is part of thickening your broth.
*Cut your dough into 1-2″ squares; I just use a pizza cutter, because it is fast.
*Raise the temperature of your broth and potatoes to a boil and drop in your dough squares one at a time into the broth. Gently stir once or twice, but do not mush them. Wait 5 minutes.
*After removing all of the bones from your chicken, add the meat into the pot. Stir once or twice. Serve.
(I always get rave reviews on them… “Better than Cracker Barrel”… “How did you make your dumplings?!”…) Now, you know.
The reason I made them today? Mitch requested them. His dad joined us for dinner. Since it is summertime and I usually only make this dish in the winter, I just served it with a salad and iced tea. Brownies for dessert were made by our middle daughter. Love. Here is a pic of Mitch’s dad and our girls, his granddaughters. Love.

See y’all later! Good Night!
Your friend,
~Amber Hamilton Henson
PS:
Like this post? Be sure to check “my Kitchen” for links to more of my recipes!
Wonder to which parties I’m linking? I have a page dedicated to “shares”, too, that links to the best parties around!
If this post is featured, please let me know and I’ll add your “featured” button to this post and my “shares” page! 😀
This post is linked:
Mom’s Test Kitchen
Miz Helen’s Country Cottage
Momnivore’s Dilemma
Pies: 3 Favorites!
Good Morning Bloggers! How about a 3 for 1, today? Yep, three of my favorite pie recipes in one post!! Here we go!!


My “Summer Strawberry Sour Cream Pie” included a few strawberries from my little garden!! We didn’t have enough ripe all at once for the pie, so I did use some from the grocery store. Knowing that there were a few in there from our little garden was enough to really please our little girls, though!! Love.
If I’d had a little more free time today, I would have made the crust. I kind of feel like I cheated by using a crust from the store. Oh, well; it was good, anyway! Next time… 😉
The link to the recipe that I found and followed for this strawberry pie was by willowbirdbaking.
Filling Ingredients:
1 quart fresh strawberries
1 cup flour
1 1/4 cup sugar, reserve 1 tablespoon
Dash salt
1 cup sour cream (not fat-free)
Directions:
* Preheat oven to 450 degrees F. To make the crust, pulse flour and salt together to combine. Add scoops of lard and pulse into the mixture has the texture of coarse sand, about 10 seconds. Add in chunks of butter and pulse until butter pieces are no larger than small peas, about 10 pulses. Add minimum amount of water and pulse on low. If dough remains crumbly and doesn’t come together, add another tablespoon of water. Add as little as is required to enable the dough to be rolled into a ball. Form the dough into a disk, wrap in plastic, and refrigerate for 20-30.
* Roll disk of dough out to around 2 inches larger than your pie plate and transfer it, situating it in the plate. Fold the excess dough around the edges and crimp, trimming where necessary.
* Hull and wash the strawberries and slice them in half. Set aside. Sift flour, sugar, and salt into a large mixing bowl. Add sour cream, blending until creamy. Gently fold in the berries without overmixing. Pour fruit into pie shell and spread to edges without packing down — there should be spaces throughout the filling. Sprinkle the top with the last 1 tablespoon sugar.
* Bake the pie for 10 minutes, then reduce the heat to 350 degrees F (I leave the oven door open a minute during this period to let the temperature drop a little) and bake an additional 30 minutes or until crust is golden brown.
* Broil the pie for 2-3 minutes to brown up the top. Allow to cool completely before cutting, and serve with fresh whipped cream or ice cream.


My “Bourbon Pecan Pie” has been tried and tested multiple times, now. It has officially become a “keeper” recipe and has been written by hand in my “go-to” recipe book!! I can’t wait to share it with extended family during the holidays this fall!!
The story: I saw the recipe on Pinterest, pinned, and followed the instructions. It didn’t quite work for me. It just didn’t set and stayed runny. pauladeen
So, I made another one and cooked it for an hour, and the crust was a little overdone. At this point, I had spent quite a bit of time with the bottle of corn syrup and noticed that there is a pecan pie recipe printed on the side, so I hybridized the two recipes and my pie came out perfectly!! Here is my recipe:
1 cup sugar
2 tablespoons butter, melted
3/4 cup dark corn syrup
3 large eggs, beaten
2 cups pecan halves or pieces (not “crushed/crumbled” pecans)
2 tablespoons good-quality bourbon
1 (9-inch) deep-dish pie shell, unbaked
* Preheat the oven to 350 degrees F.
* In a medium bowl, stir together the sugar and melted butter. Add the corn syrup, eggs, pecans, and bourbon, and stir until all ingredients are combined. Pour mixture into an unbaked pie shell, and place on a heavy-duty cookie sheet.
* Bake for 50 minutes
* Remove from oven and cool on a wire rack.
Note: If your pie is not fully set at this point, cover the edges of the pie crust with aluminum foil and return to oven until it is set. Covering the edges will keep them from overcooking. 😉
PS
Mitch, thanks for shelling the pecans for me! Love You!!


Blackberry Pie and Blackberry Cobbler
Our oldest daughter and I picked all of our berries ourselves! We are lucky to live in an area where blackberrries thrive in the wild here in Arkansas. I’m kind of laughing about the notion of “wild” since we never really left the sidewalk to pick them. There is about a mile long stretch in our neighborhood where they grow really thickly right beside the sidewalk!
The link to the recipe that I found and followed for the blackberry pie was by sevenspoons.
We absolutely LOVED the pie! The only thing that I changed from theirs was to eliminate “gelatin packet” in the whipped cream topping. It was unneccessary, so long as you whip your cream thoroughly.
The Recipe:
Ingredients for the crust
2 cups shortbread cookie crumbs
1/8 teaspoon kosher salt
3 tablespoons unsalted butter, melted
Ingredients for the filling
6 cups blackberries, divided
1/4 cup granulated sugar
1/8 teaspoon kosher salt
1 teaspoon lemon zest
Ingredients for the topping
1 1/2 cups heavy, whipping cream
2 tablespoons caster sugar
Seeds scraped from half a vanilla bean
2 tablespoons sour cream
1 teaspoon powdered gelatin
2 tablespoons milk
* To make the crust, preheat an oven to 325°F (160°C). In a large bowl, stir together the cookie crumbs and salt. While stirring, start to drizzle in the butter. Only use enough butter to dampen the crumbs – depending on the cookies used it might be as little as 1 tablespoon or as much as 3. If you compress the crumbs with the back of a spoon they should pack like sand at the beach, but not appear sodden.
* Press the crumbs into a 10-inch springform pan, forming an even layer across the bottom and a 3-inch crust up the sides. Bake in the preheated oven until lightly golden and set, around 8-10 minutes. Set aside to cool completely. (Shortbread cookies, ‘Nilla wafers, graham cracker cookies, and more all work, or use a premade crust, if you’re running short on time)
* To make the filling, take 3 cups of the berries and put them in a medium saucepan with the sugar and the of the salt. Bring to a boil over medium heat, then reduce to a simmer. Cook, stirring, until the fruit becomes soft and the juices begin to thicken, around 7-10 minutes.
* Carefully remove the blackberries to a blender (or use an immersion blender), and process until smooth. Push the puréed sauce through a sieve, back into the saucepan. Return to the heat and bring again to a simmer, stirring often. Cook the sauce until it becomes thick, with a clear, glossy look, around 5-7 minutes. You should have around 1 cup of purée.
* Off the heat, stir in the lemon zest, followed by the soaked gelatin, stirring quickly to dissolve.
Tumble in the reserved berries, give them a few turns in the pan to coat, then pour into the cooled crust. Refrigerate for 10 minutes to start to firm up.
* To make the topping, pour the whipping cream into a bowl along with the sugar and scraped contents of the vanilla bean. Beat the cream to firm peaks, then fold in the sour cream.
* Spread the topping over the blackberry filling, return the pie to the fridge and chill until set, around 2 hours.
* To serve, remove from the pan and cut with a warm knife, wiping the blade clean between slices.
Makes a 10-inch pie.
For the Blackberry Cobbler that I made the next day, I loosely used the same recipe that I always use for fruit cobblers. This post is already pretty long, since it covered three of my favorite pies, so I’ll write a separate entry for cobblers soon! I hope you enjoy the pies! Let me know!!
Your Friend, ~Amber Hamilton Henson
Like this post? Be sure to check my “my Kitchen” for links to more of my recipes!
Wonder to which parties I’m linking? I have a page dedicated to “shares”, too!
Guess what?! I was featured!


